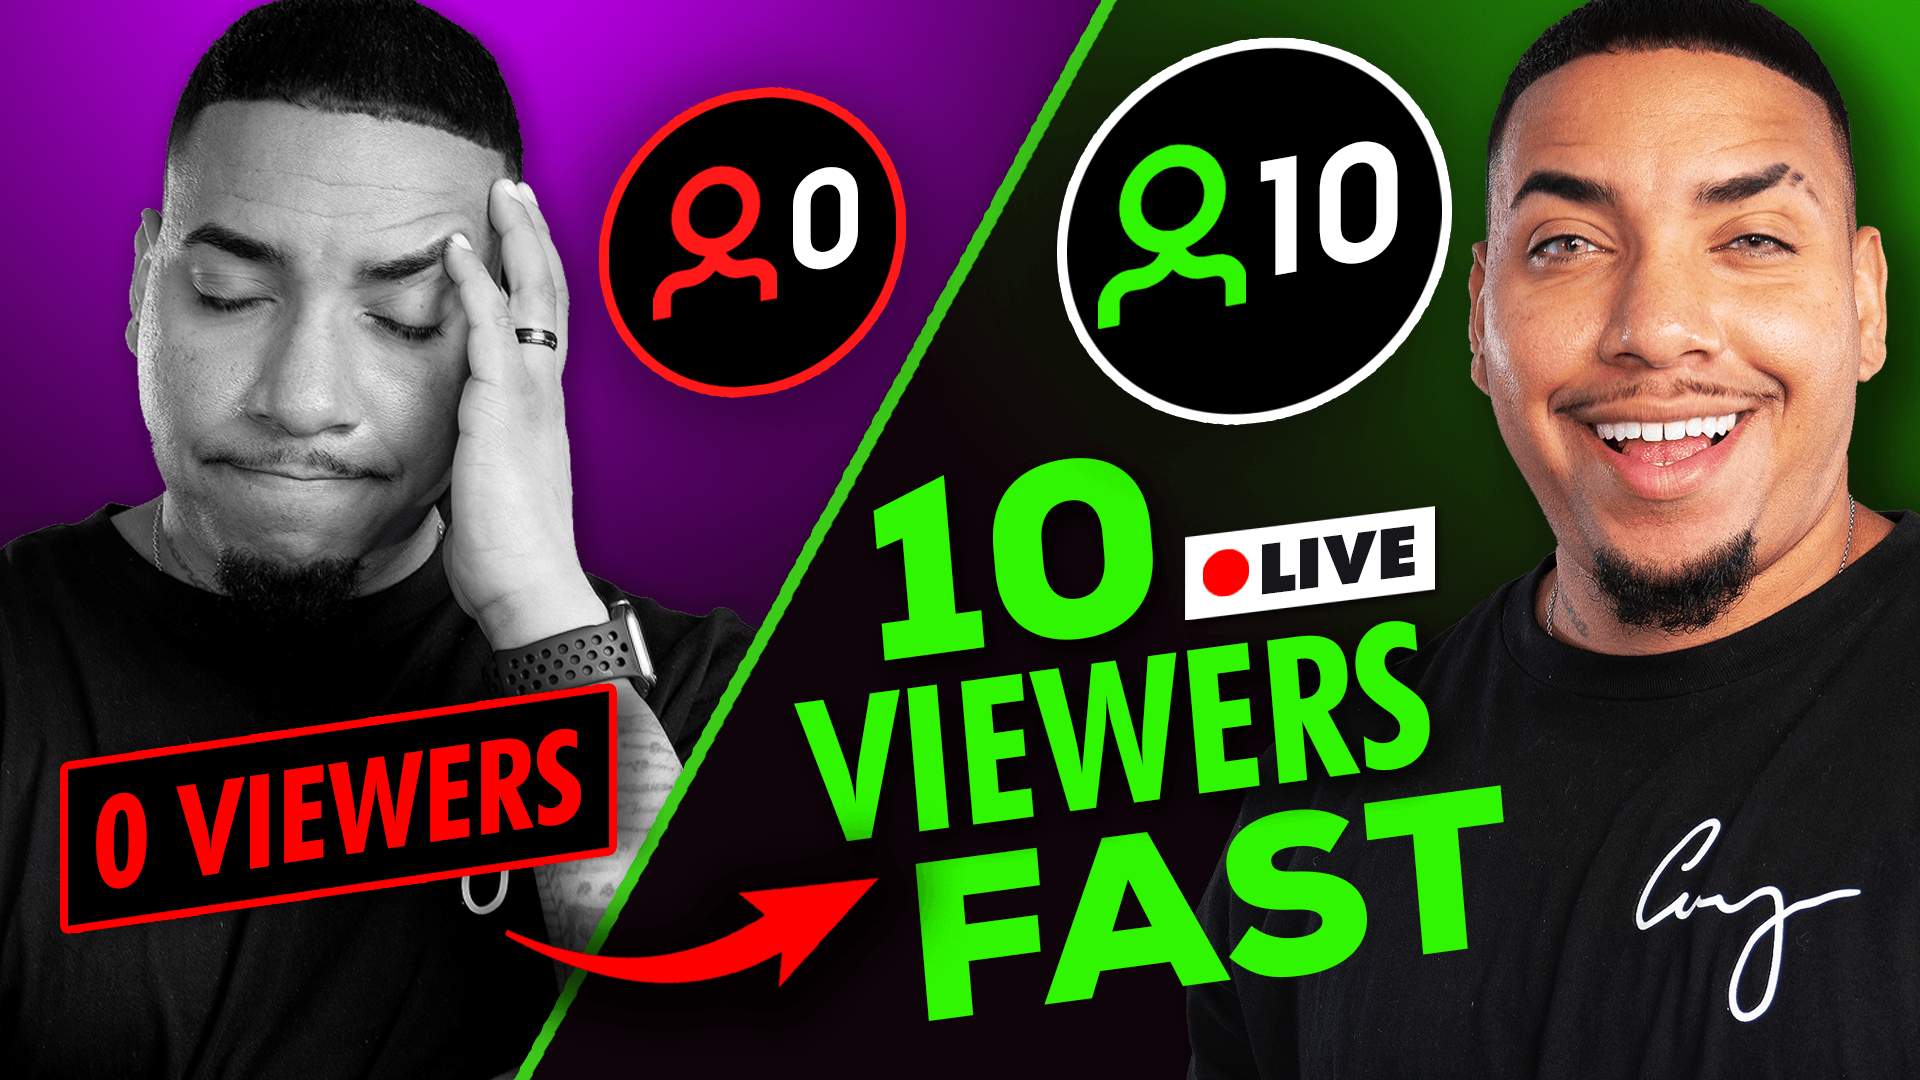
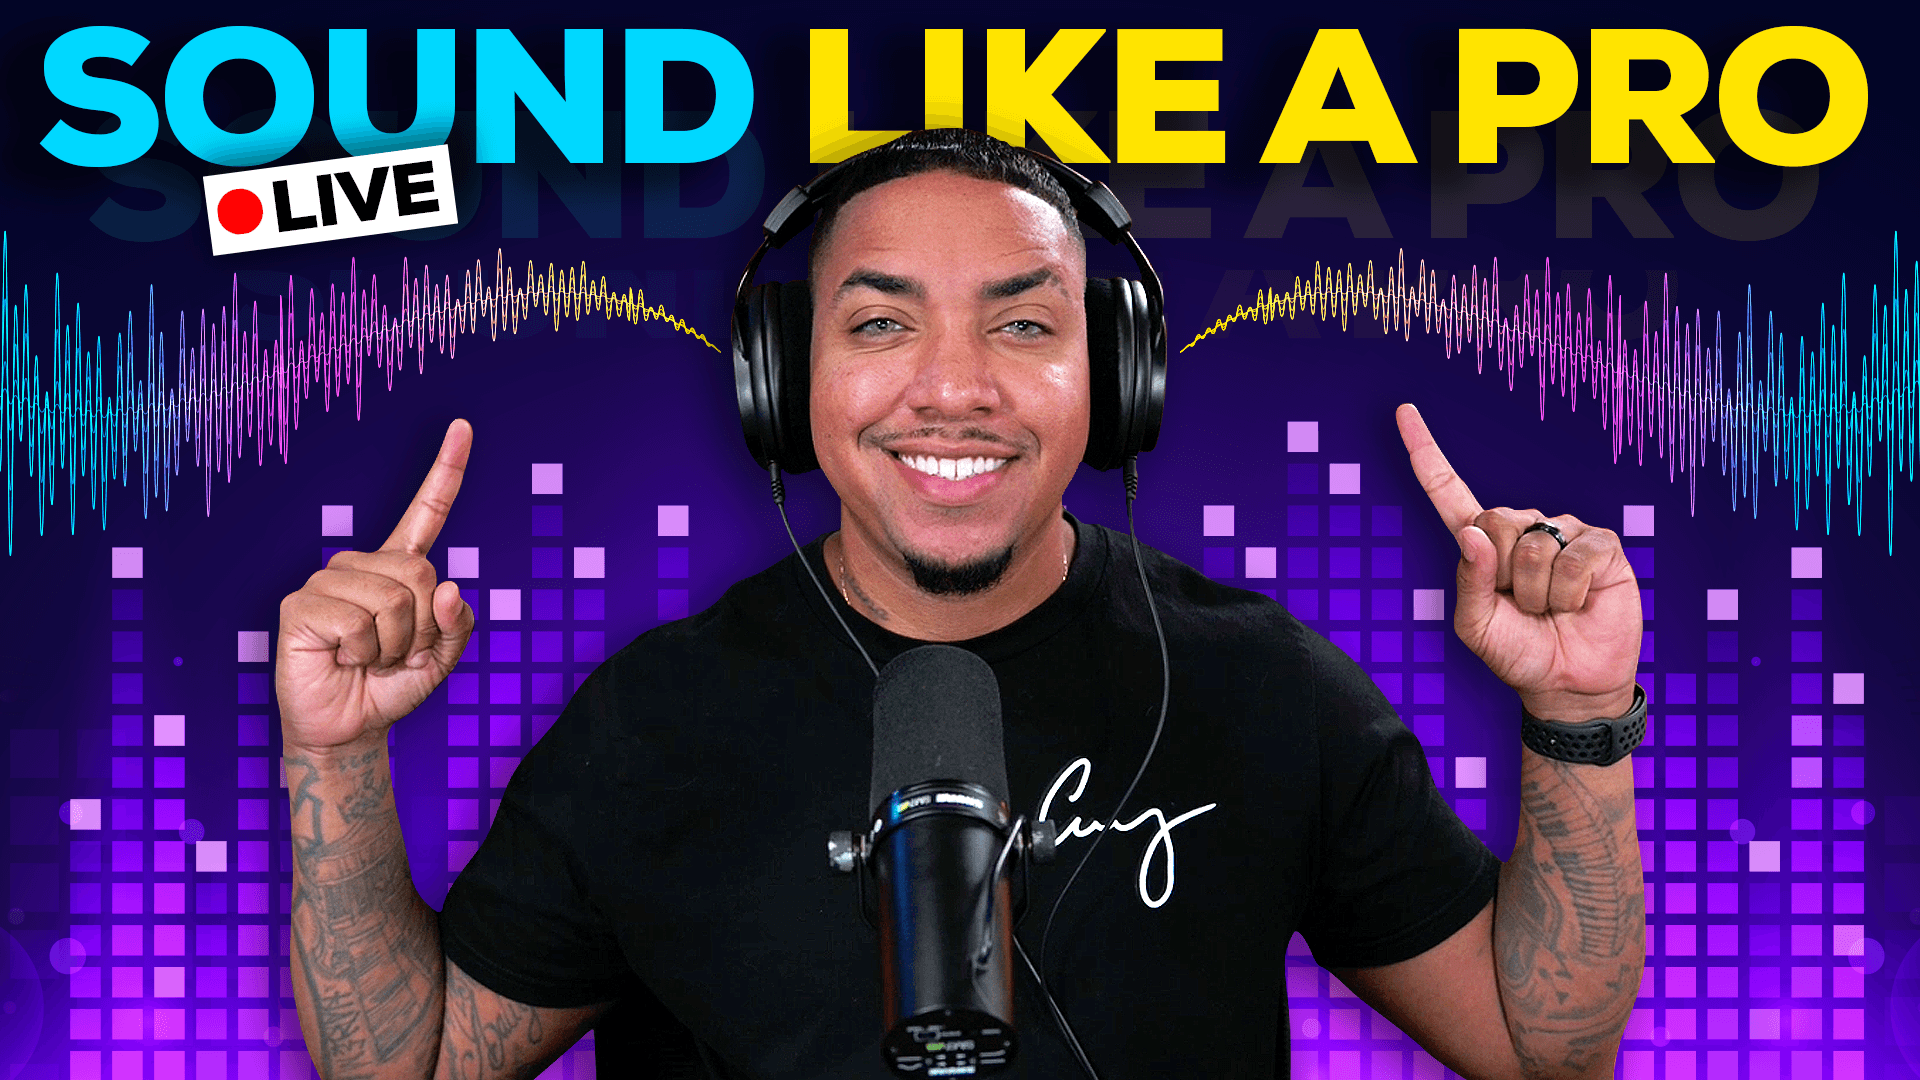
Even if you are not a designer, or even if you’re not tech savvy- this tutorial will teach you how to make quick and easy professional-looking thumbnails like this one.
Step 1: Creating an Adobe Express Account
The first thing you’ll want to do is use this link to get the free beta version of Adobe Express. Keep in mind that the beta is only available on the web version, but there is a mobile version coming soon. If you are reading this after August 16th, Adobe Express may already be out of its beta phase.

Once you’re at the website, go ahead and create an account. After this, you’ll be brought to your dashboard which should look like this.

Step 2: Creating Your Thumbnail
We’re going to select the option that says ‘Youtube Thumbnail’. If you click ‘Explore Templates’, you can see that Adobe Express offers so many different options to select from that they have already come in and designed. This all just means that the process is going to be easier and faster for us.
Today, we will be focusing on creating ‘Call of Duty’ type thumbnails. Once you learn how to do this the first time, it becomes really easy to do for any kind of game.
We are going to start off with a blank canvas.

The first thing that we need to do is go to ‘Media’. Through this, we can access tons of high-quality Adobe stock images. Even better, they’re all royalty-free, so there’s no need to worry about these getting copyright strikes.
Step 3: Creating the Thumbnail Background
If you don’t have your own images, the Adobe Library is going to be a great tool for you to use. Since we’re doing a Call of Duty war zone style thumbnail, I’m going to search for ‘War’.

If you click on an image, it will add it to your thumbnail canvas and you can make it your background. To resize the image, click on it and drag the corners until it fits the canvas.

Once this is sized correctly, we can edit the photo to give it the look of being originally created. By doing this, it’s going to stand out on Youtube.
The first thing that we need to do is select the image and come to where it says ‘Adjustments’.

For ‘Brightness’, I’m going to lower it to -36. Already you can see it starting to pop.
For ‘Shadows’, I’m going to change it to 5.
Then, for ‘Saturation’, I’m going to make it really high- I’m going to make it 97. You can see that it’s starting to get orange which again is going to make it pop out more to people looking for streams to watch.
To make it a bit more high-quality, I’m going to raise the ‘Sharpness’ to around 66.
I’m also going to increase the blur to 6 since this is going to be the background.

Once this photo is adjusted, we have the base of our thumbnail!
Step 4: Creating the Thumbnail Foreground
Now that our background is done, we can move on to adding the gun to the image. It’s best to take a screenshot while you’re playing the game where you’re holding the gun. This way it’s more unique to you as your viewers can see the skin of your character or any additional elements that a Google image wouldn’t have. You can of course use Google or the Adobe Library though.
In this tutorial, you will also learn how to remove the background from your photos so that you’re focusing on the actual gun.
I’m just going to be using an image from Google, but you can use any image that you would like.
First things first, select ‘Upload from device’.

Find the image in your files and upload it to Adobe Express. You can see that my image has a background on it which we’re going to want to be removed.

To remove the background, all you have to do is click this button.

Adobe makes it insanely easy to remove the background from photos. Again, this is going to help you be able to create thumbnails quickly and without a lot of hassle.
Now I need to resize this and make it a lot bigger. This is what’s going to shape your image. I’m going to position the gun to cover up the people in the background photo.

We do need to leave some room for text to fit nicely into the thumbnail, so we don’t want to make the gun take up the entire screen.
To make this image pop more, we need to adjust some things. By making it brighter, we can greatly increase how eye-catching this will look.
Just like with the background, head over to ‘Adjustments’.
For ‘Contrast’, I’m going to take this down to -14. Again, this is going to be adjusted according to how the photos in your thumbnail need to look. These numbers are only for the tutorial photo, but each thumbnail and picture will be different.
For the ‘Highlights’, I’m going to take this down to -5.
For ‘Sharpness’, I’m going to take it all the way up to 100. This is when you can really tell that it’s starting to pop.
To make it even more eye-catching, I’m also going to raise the ‘Saturation’ to 100.
With this looking good, it’s time to move on to the text.
Step 5: Adding Text to the Thumbnail
To start adding our text, head over to the panel on the left-hand side of the screen and go from ‘Media’ to ‘Text’.

Click on ‘Add your text’. It will add this text onto your screen, and you can change this by double-clicking on it.
I’m just going to type in “BUFFED” since the gun is buffed. Right off the bat. It’s not going to look very good, but Adobe Express has a massive font library that we can choose from in order to make it look great.

The font that I like to use is called ‘Bebas Neue’. I also like to use the rounded one.
Instead of leaving the ‘Fill’ as ‘Default’, I’m going to make it bright red. I want as bright of a red as I can get.
Then, for the outline, I’m going to make it white. This will give it a nice border. I like to leave the border thickness somewhere around 16.
For the text size, I’m going to leave it around 297 which will increase the size for us.

To make it stand out even more, I’m going to come down to where it says ‘Shadow’ and select ‘Smooth’. You can see that it’s there, but we need to add some color to it. It’s best to just select black.
After doing that, you can see that we’ve created a nice background effect.
With this, the thumbnail is all done!

Adobe Express makes it super quick and easy to create a good-looking thumbnail that will pop and keeps viewers coming to your videos.
Step 7: Downloading the Thumbnail
Now that our Thumbnail is done, we need to download it.
Click ‘Download’. It’s going to say that PNG is the best for images, so this is what we will use.

Press ‘Download’ once more and then you’ll have access to the image!
There is so much more that can be done with Adobe Express. You can edit your gaming videos directly inside the site, which means that you only have to learn one software for editing videos and making thumbnails. Check out this video if you’re interested in learning how to edit videos directly inside Adobe Express.


Share:
How to add background music to Streamlabs
Best OBS Settings to Stream on YouTube on Mac